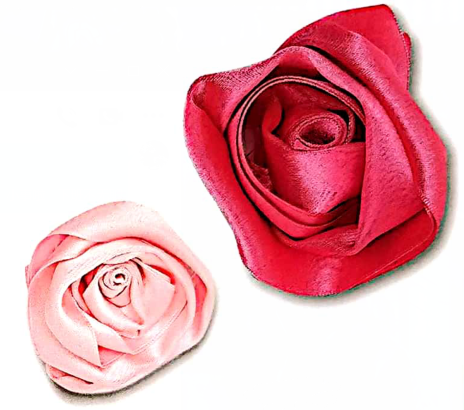
This ribbon rolled rose knot is perfect for shoe accessories, lapel pins, and hair accessories. The best results are achieved with double-sided grosgrain, which requires constant stitching to keep the petals in place.
Difficulty Level: Intermediate Knot Size: 5~6cm
To make this ribbon bow please have:
✧61cm long, 22-38mm wide A color Satin Edge Ribbon
✧ Branding brush, lighter or hemming liquid
✧ Suture, knotted at one end
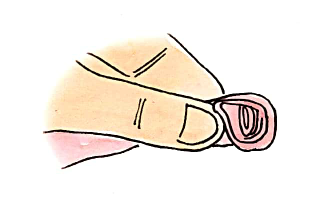
1. Seal one end of the ribbon. Fold the ribbon in half to make it half its width to form a thin strip. Hold the ribbon with the folded side down, the ribbon will remain folded for the next steps.
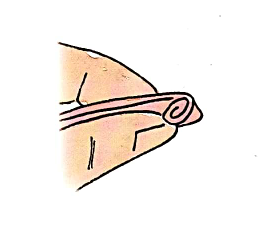
2. Roll the end twice.
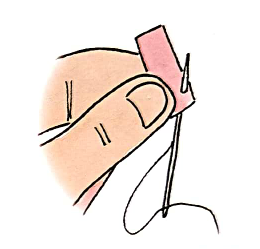
3. Sew 2-3 stitches to the bottom, and tie a knot when done without cutting the thread.
Avoid "stretching"
Make sure each loop of ribbon is at the same level when sewing, or a little higher than steps 2 and 3. This will prevent the center of the rose from stretching.
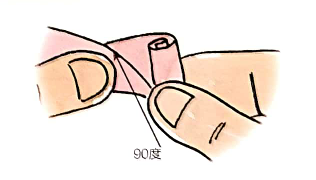
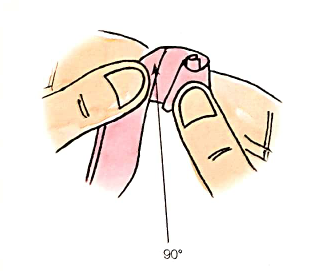
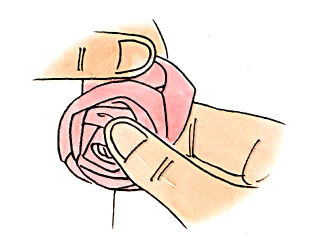
4. Fold the tail of the ribbon up 90 degrees.
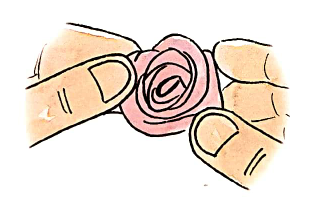
5. Roll the ribbon 2 circles along the center and loosen it a little so that the rose looks like it is blooming. Sew the bottom as in step 3.
6. Roll the ribbon 2 more times along the center without folding. As you sew, after the rose shape has grown in size, sew a few stitches in the new location.
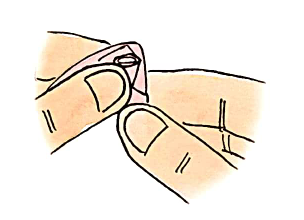
7. Fold the end of the ribbon down 90°
8. Roll the ribbon 1 or 2 around the center and sew.
9. Loop again, do not fold, remember to keep the ribbon in a folded state.
10. Repeat steps 4 to 9, and decide how often to fold up or down according to what you want to present.
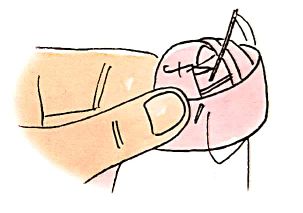
11. Remember to sew as you wrap around so that the rose retains its shape. Fold each layer of ribbon in a staggered manner so that it looks like there are different layers.
12. Fold down near the end of the ribbon, then tuck into the back of the rose and sew. Trim the edges of the ribbon to seal the ends.
Post time: Aug-29-2022